
"Robot WipeOut" is a melee combat game! The game was made in 6 months. I have worked on it in the first 2 months. That was the concept phase. In year 2 block 2 of my school "Breda University of Applied Sciences", I got the assignment to create multiple new prototype games within small strike teams. We did this to experiment ideas to see what game would be fun to make and play.
We worked together in a team of 15 people. Furthermore, we had to work in 4 different sprints with the scrum method. Each sprint took 2 weeks long. Every sprint, we made a new team of 3-5 people to create a new prototype that was based around a new idea or expanded on an older idea. We worked with Unreal Engine 4.25 and our target platform was the PlayStation 4. Our game was a Rachet and Clank clone. Our theme was Robot-Scrapyard.
You can play the final product here: Link
Sprint 1:
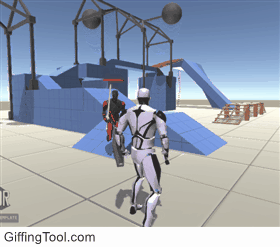
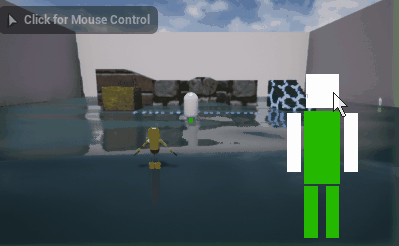
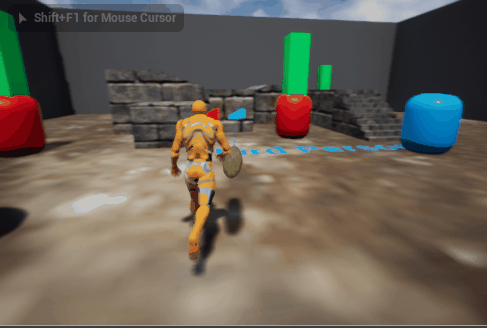
In the first sprint, I teamed up with a system designer and an animator. Our goal was to create “a playable robot character with overexaggerated melee combat”. So, while our system designer was creating the design documents for our mechanics, I started working on a target lock on system inspired by this gif:
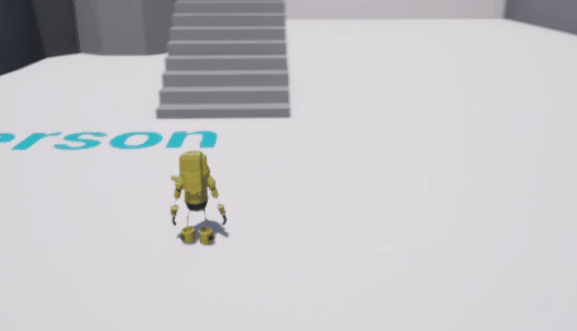
I started first with playing around with the blueprints/tools in Unreal. I have also followed a few tutorials to get warmed up. (Tutorial 1, tutorial 2). I did work before in Unreal, but I am not really familiar with it. Also, the switch from coding to blueprints feels really awkward because while a lot of stuff is done for you, it mostly feels like that I have to do more things in blueprints to get it working. This is mostly noticeable when you are going to do math in Blueprints. It is easy to create spaghetti code quickly. But I am also still learning. There are endless possibilities to create features and there are always faster/better ways to create features.
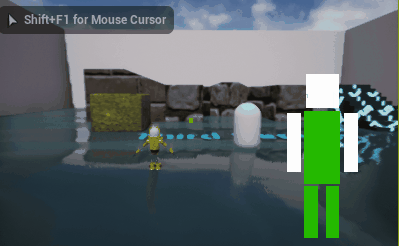
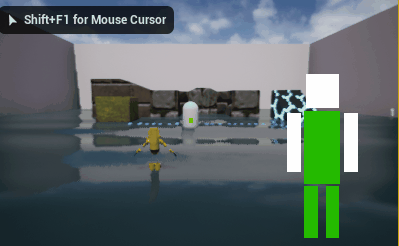
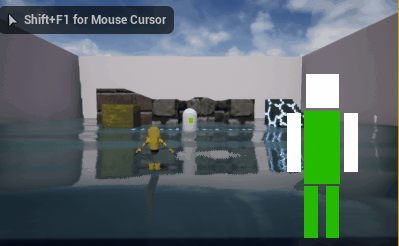
When I started implementing the lock on, I first added a sphere trace on the player to check if the target is inside the sphere trace. When that is the case, lock the camera on the target. I already knew that this was not a great solution, but this was the fastest solution that I expected to create within one hour. (It was the end of the day). The very next day, I quickly swapped the sphere trace for a system that shoots a ray from the center of the screen to check the input of the player to lock on the target. I also added a crosshair in the middle of the screen, and I moved the camera a little bit to the left so that you can see the crosshair.
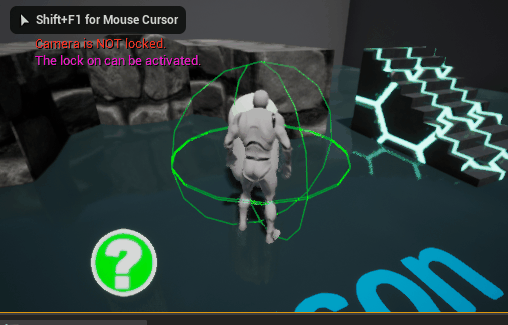
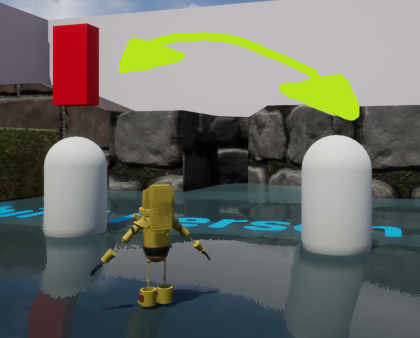
When creating the lock on, I noticed that we got a lot of suggestions for different ways on how the camera should behave while locking on the target. One person liked it more to let the camera always look at the target. Other people loved it more that the character is always looking at the target but that you as the player had more control over the camera. So, I had an idea! Because we are still making quick and dirty prototypes, why not create multiple camera modes! So, I created a system that you can switch from different camera modes. This allows the play testers to choose what mode feels the best.
Now, I would like to polish the camera to the max, but this block is about making quick and dirty prototypes. And we got 2 weeks max per sprint. So, the camera lock on might be buggy, but it is demonstratable. So, I moved on to the next feature.
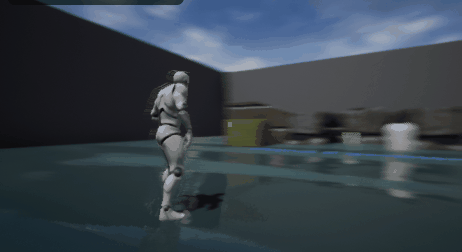
Our goal was to create “a playable robot character with overexaggerated melee combat”. So, my next task was to create a dash mechanic. By dashing, you can dodge the enemy its attacks. Now, I could create two buttons to dash to the left and right, but two buttons for 2 directions is a bit messy. So, I wanted to create a dashing mechanic that when you press the dash button, that the player will only go left or right when he/she goes in the desired direction. At that moment, I only created the test inputs for it because our animator wanted to create the dash itself. But at some point, our animator run out of time. So, I quickly added a simple dash by blueprinting it.
For the combat I have created a system that checks for chain attacks. If you press the punch button ones, it will just punch. If you quickly punch again while punching, you will do another attack quickly after it. In our game, you can chain 3 attacks in one combo.
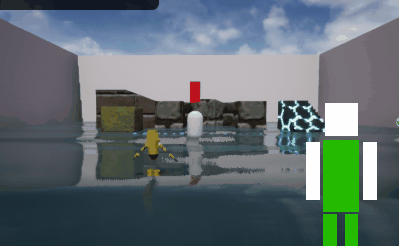
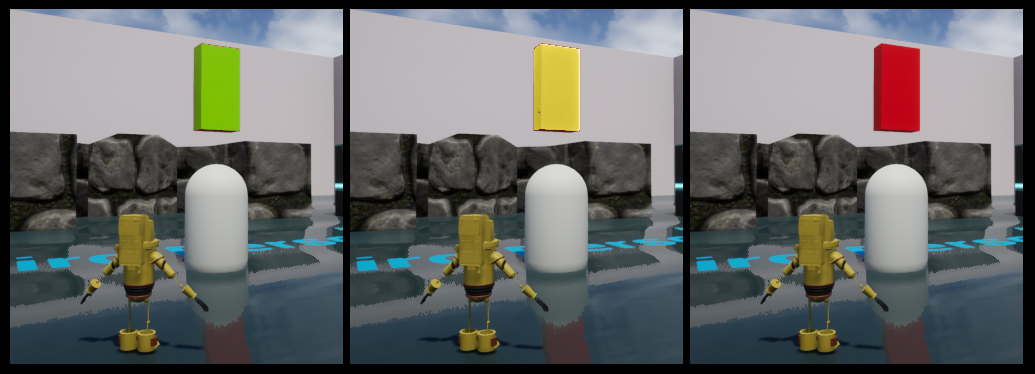
There are also some scrapped features that I would’ve liked to add. These were that you can swap between the targets and that the target indicator shows how much health the enemy still have left by changing its colour from green to red.
Sprint 2:
This sprint was all about experimenting with faster paced combat. Our question was: How to make our game faster paced. In this sprint, we designed our game a bit more as a third-person shooter. This time we divided our work in different projects. We did it not on purpose either. Our artists wanted to create fancy effects to emphasize the faster paced effect and our game designer didn’t communicate and was really demotivated. (His actions also affected me badly. We already worked from home because of Covid-19. But that in combination with this person was extra hard for me).
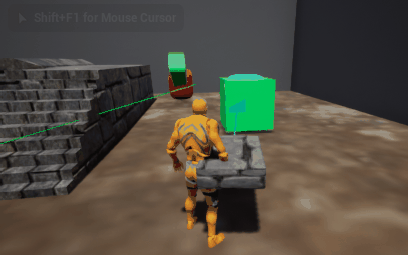
So, while everyone did a bit of their own side-project, I decided to make the best out from it, and I created the following in my project: You have 2 types of guns. Every test enemy is weak to one of them. When running around, you need to use the right weapon against your enemy. Otherwise, you won’t kill it. This is called weapon swapping. I took inspiration from Doom Eternal. In that game, every enemy has optional weakness points. If you shoot the enemy with the right weapon, it can kill the enemy quicker or even disable certain strong weapons on the enemy.
I also added 2 dummy enemies that can demonstrate certain enemy types. Now, with just two weeks… It would have been way too much with to create demonstratable enemies with everything on it like pathfinding, attacking and more. Instead of that, I created enemies that can demonstrate certain situations. The blue enemy has a shield that can be turned on and off. This could be a cool idea that you can only attack him on the right moment. Another cool concept would be that you can disable or explode the shield with a certain weapon. The other enemy is the red one. This one is interesting because it can be expanded to lots of ideas and enemy types. The red one does only swing with their swords now, but it would be cool if they also get a shield and that when they turn it off, that they will not only attack, but also expose weakness points. Unfortunately, I did run out of time. But I did add the dashing from the last sprint into this game and I improved the code so that it makes use of 40% lesser blueprints. (I had lots of troubles to get it working last sprint).

Sprint 3:
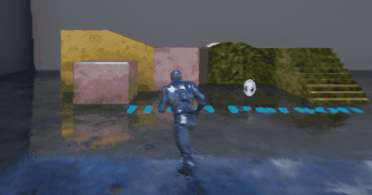
This sprint, we defined how the combat should look like. We needed to improve the current player controller and work closely with the AI team so that we can use their assets. My team this time was the same as my team from sprint 1 with only one exception: we had a new extra system designer in our team.
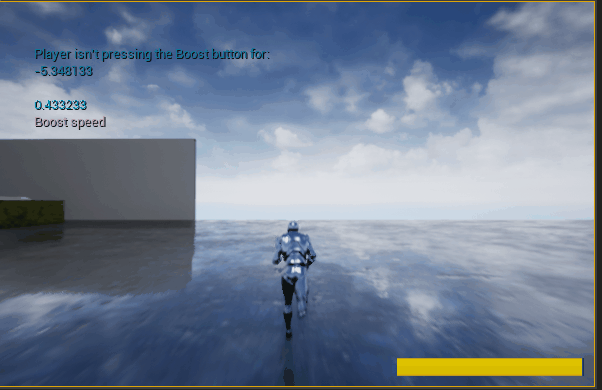
We have grabbed our old code from sprint 1 and drastically improved it. We also made changes in how the player controller is going to work. Systems like the chain attack has been changed to a more combo like system that you can see in games like Devil May Cry. Everyone (except the animator) did something on the character controller script. I have added a boosting system that can be used to run faster or to quickly dodge attacks when you double tap the boost button. The short boost is a rework of the dashing from sprint 1 and 2. And finally! I have created a good working boost/dashing mechanic! The other ones were actually really buggy. They were alright for just demonstration only. But let’s be honest! I can’t cheat forever with the right camera angle when presenting my concept ideas. This time, I really needed a good working boost because we were also going to let people playtest the game. The last feature that I created was a stamina bar. When I wanted to work on the next feature, we were actually already done with our part of the project.
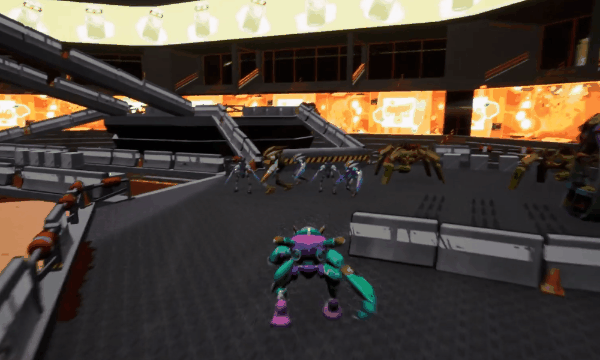
The next part of our sprint was to combine our work with the work of the AI team. They have created enemies. We needed to make sure that the enemies can be defeated while the enemies need to challenge the Player.
PlayStation 4
For this sprint, I had also another task. My task was to research what the PlayStation 4 was capable of, what its specs are, how to connect my PC to the devkit and research what the steps are to create Unreal Engine 4 games for the PlayStation 4. Now obviously, I can’t show anything here because I would break my NDA. But this gave me a little bit of a better insight on how the PlayStation 4 works and how we can set everything up as a team for our next project.