In year 1 block 2 we got the assignment to create a ray tracer in C++. There were a few rules involved: we were not allowed to use the standard C++ library and/or any graphics library. But we were allowed to change the provided Vector2 class into a Vector3 class and use that.
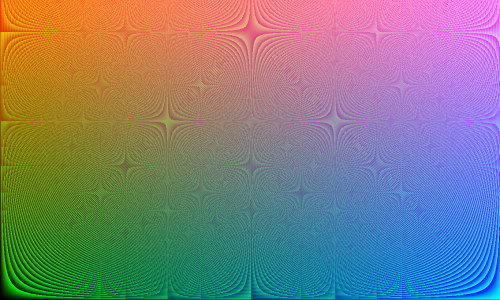
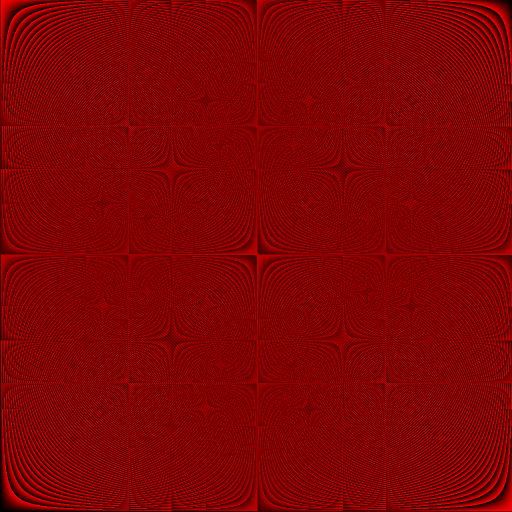
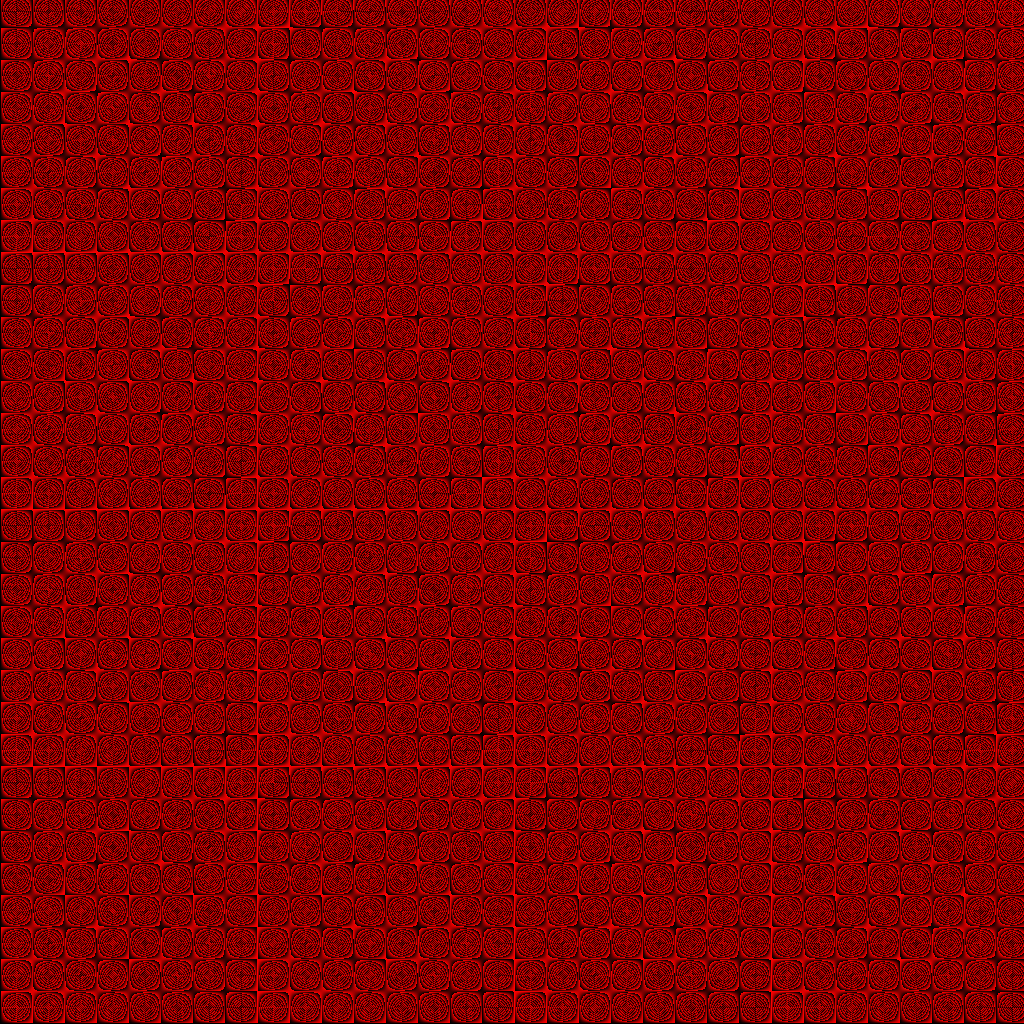
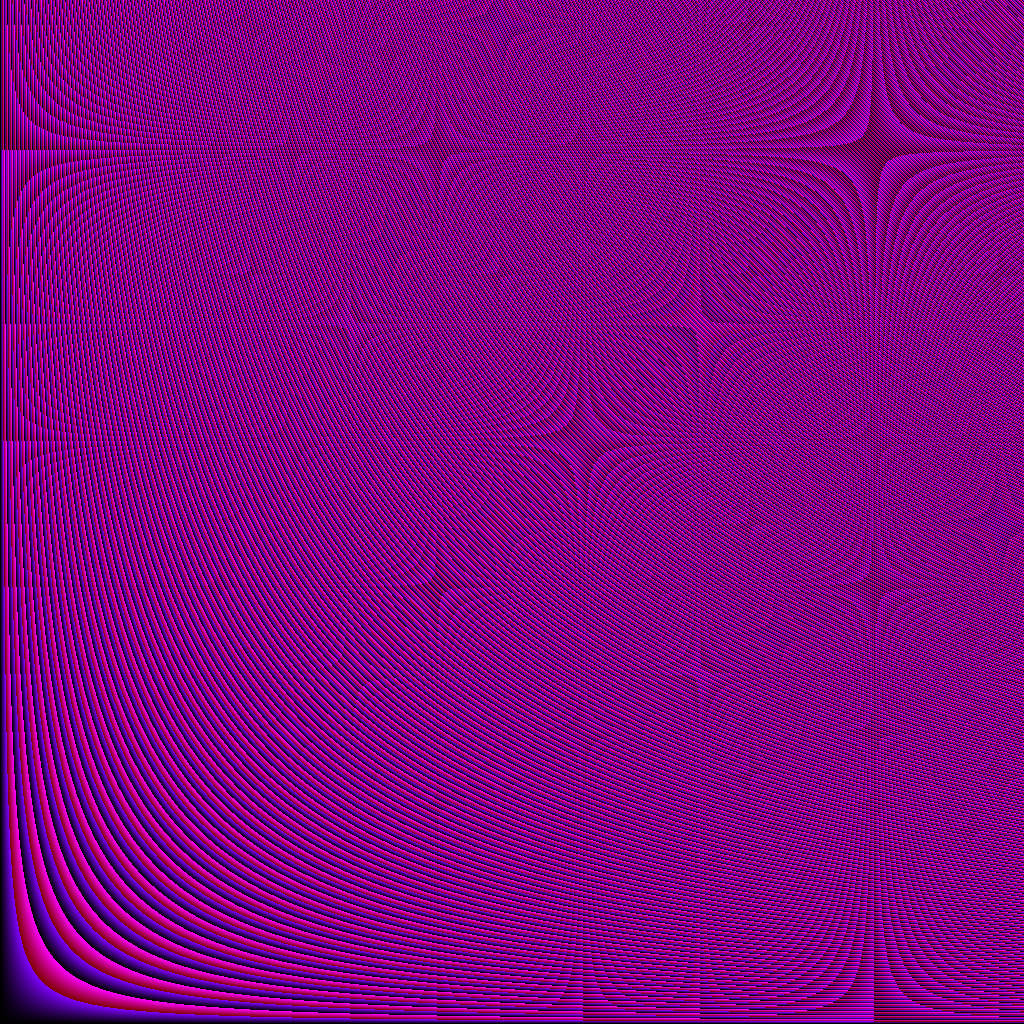
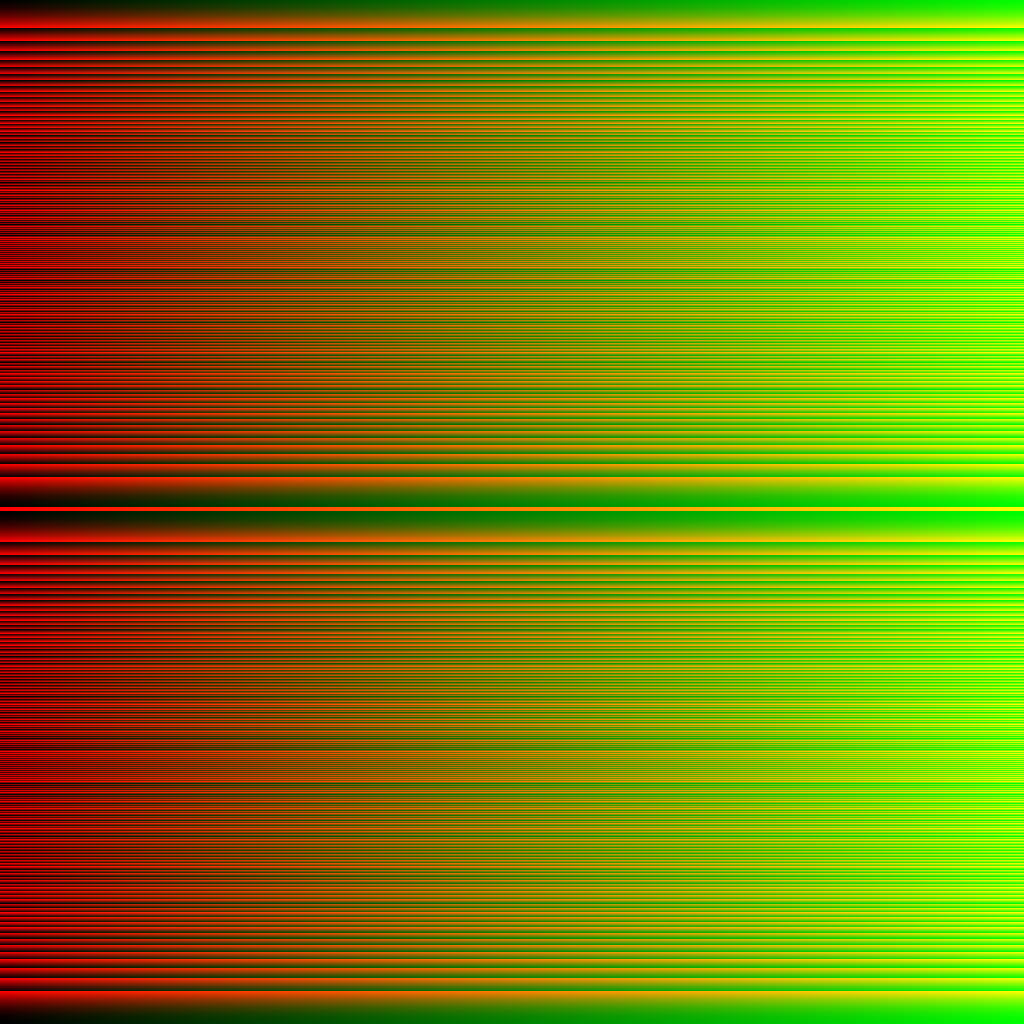
This block was all about teaching/testing us vector math. And well… This block was HARD! We had to make the ray tracer in 8 weeks and the very first 4-5 weeks I got nothing more but some colourful images and even some weirder ones.

But why did I struggle with this? Well, the last time that I practiced math was 4 years ago on my high school. So a week of refreshment was necessary. But I also really needed to get used to the English terms. I used to get math in Dutch, so if you hear stuff like “the power of” for the very first time… You have to constantly look up what it means.
But these were not the real big struggles… If you take a look at tutorial videos or the graphics books, you see a thon of weird symbols that I have never seen before! So that was also quite a challenge to constantly search online what it means (especially if you do not hear any names). This is a page I found on the internet that helped me a little bit.
Also, the way that I had to calculate stuff is way different that I was used to. Normally, I write a sum and I got the answer. But now I had to calculate everything with scalar values. A lot of stuff became much clearer to me when I found out about that. I questioned myself for weeks why I must use a T value here and there.
In week 5, I finally made some progress. I did something that I should have done earlier. I asked someone to help me. It really feels like cheating for me to ask someone else to help me. But I really needed it. And things got clearer, but not really. You see, the thing was that my very first sphere and plane intersection code was finished with a ton of help from other people. But I still had no clue what I wrote at all.
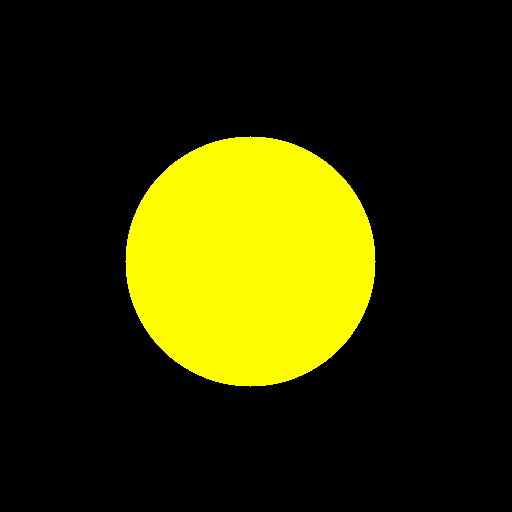
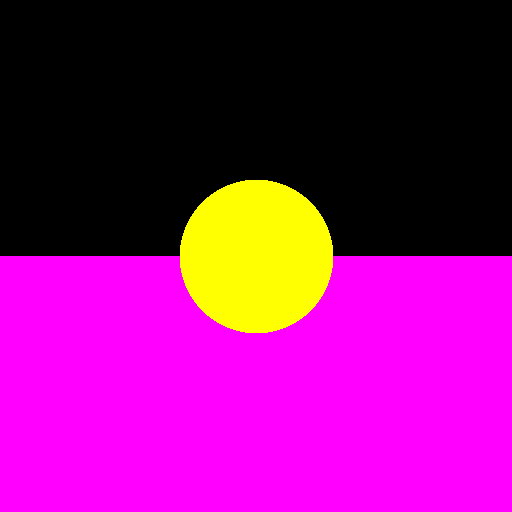
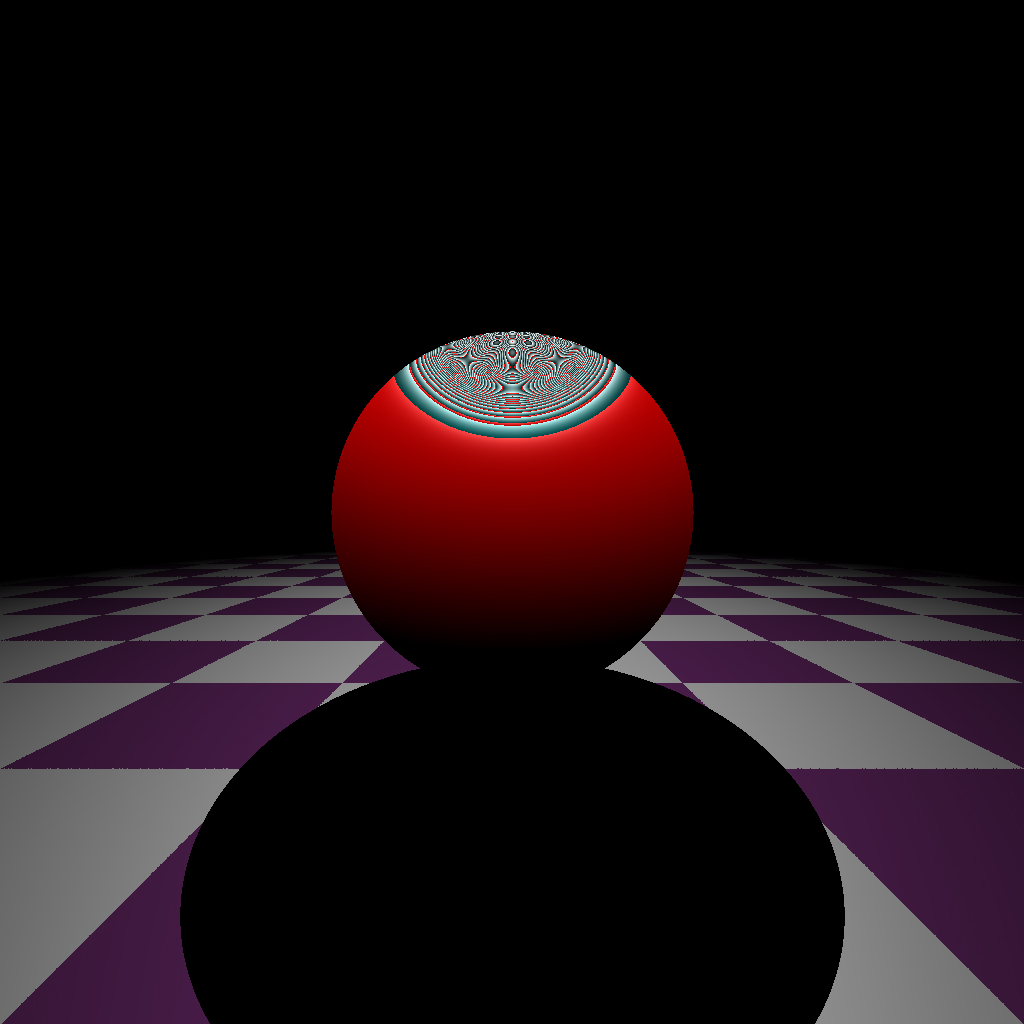
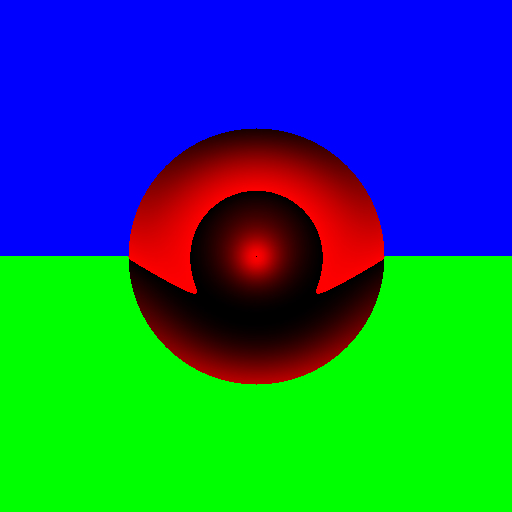
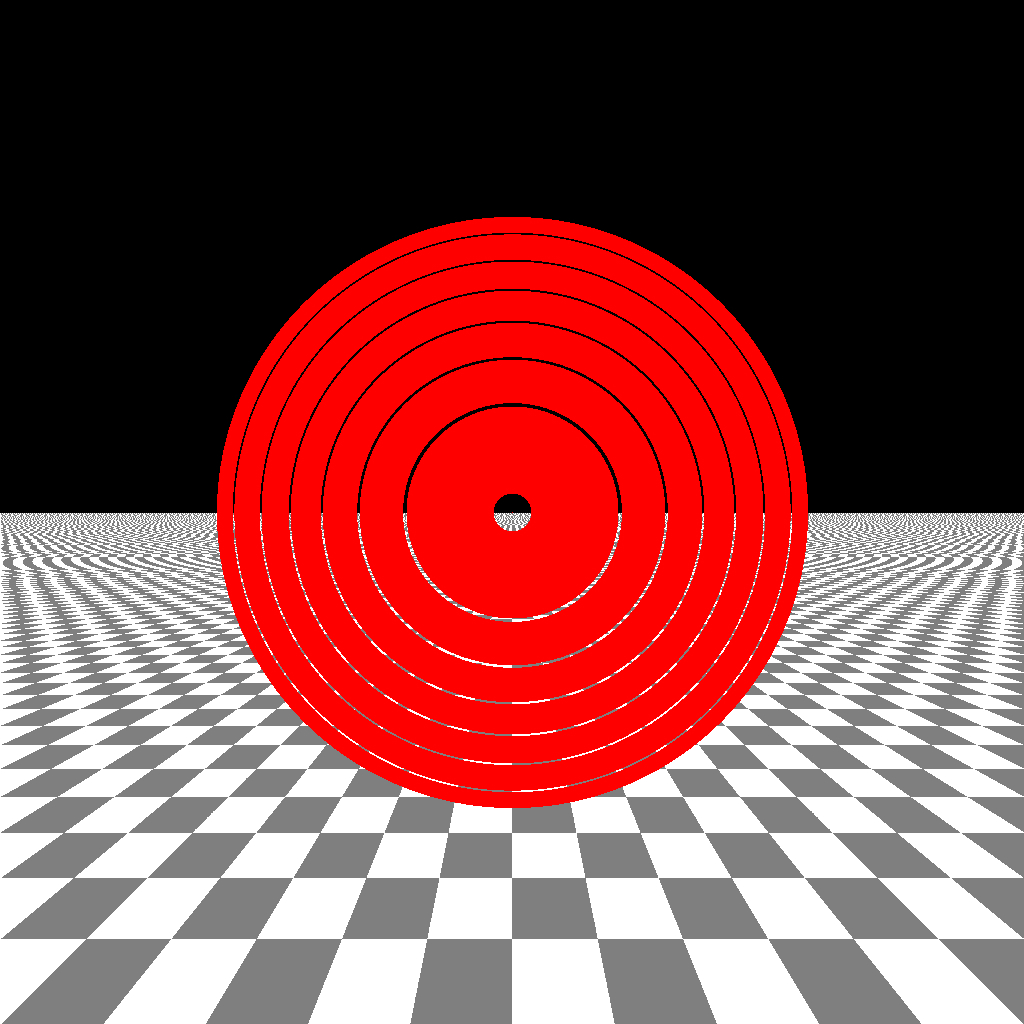
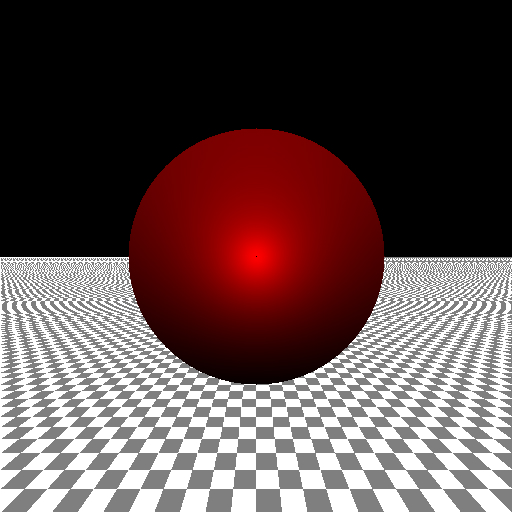
In week 6 I tried to implement lambert shading. But I still faced a lot of problems as you can see. One of my results even looked like a Pokéball! And when I finally thought that I got it… I apparently did it very wrong.

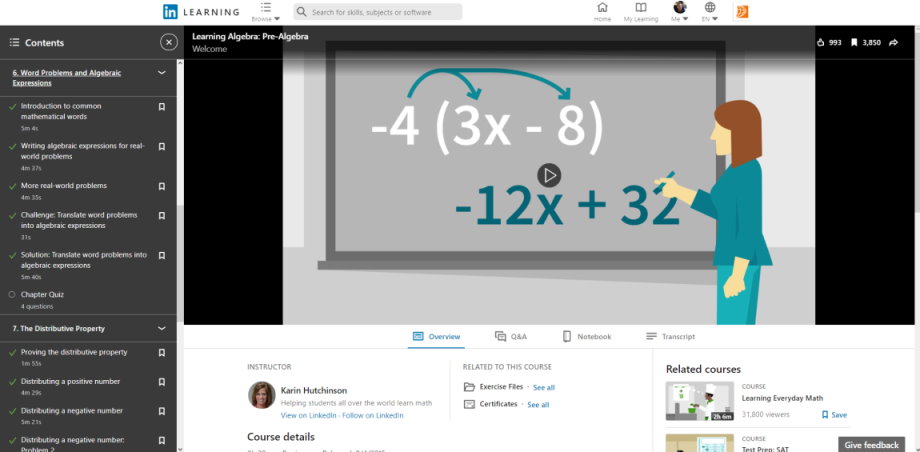
So I got tired of everything and I was even making back up plans for when I fail in this education. But then something was telling me in my head that there is something that I have overlooked at. In the Netherlands, if you are on a low degree in high school, you will not even touch algebra. So, I haven’t done any algebra before in my whole life. So, what did I do? Well… Simple! I followed an online course about linear algebra!
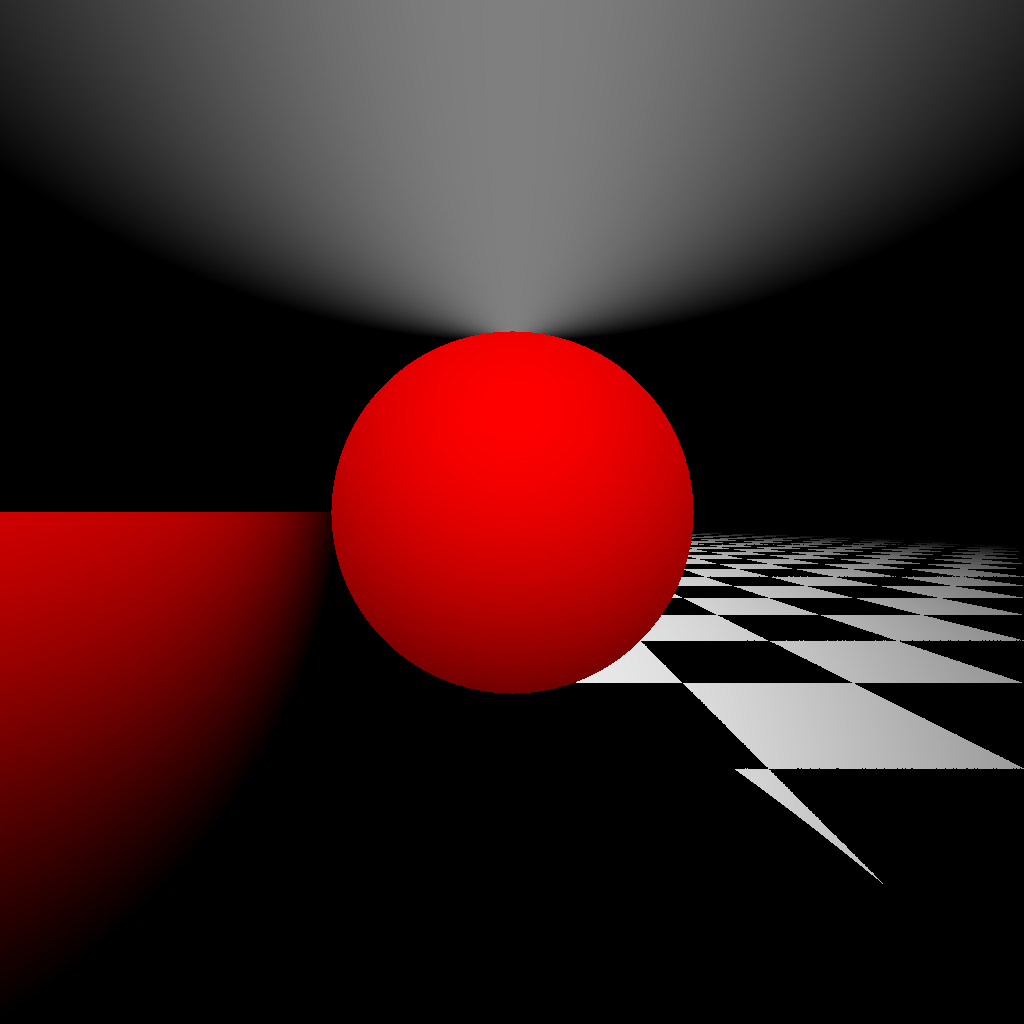
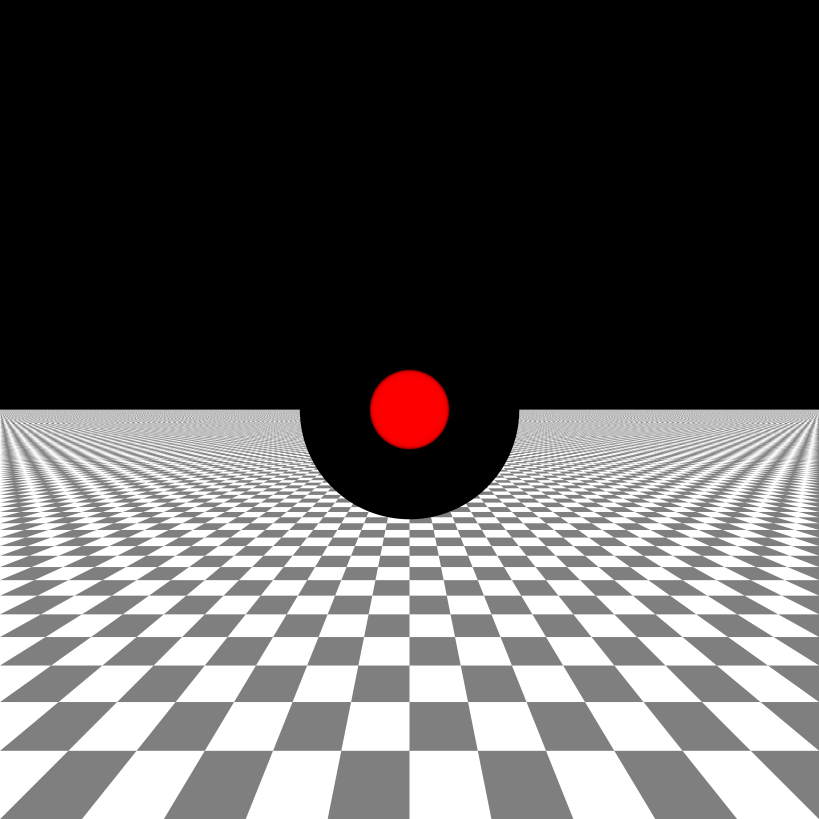
With my school account, I have access to LinkedIn Learning. That is a website full of courses. So, in the rest of week 6, I just followed an online course about linear algebra! And when I was nearly done, I directly rewrote my ray tracer in a few days. I found out that my renderer needed some changes because it wasn’t rendering the sphere correctly. This resulted in weird glitches when you move the sphere on the z-axis. Just learning Algebra saved me a lot of headaches!
Why was this a very important step for me? Well, I thought for weeks that algebra was the same as calculating sums in programming. I thought that the letters were variable names like in programming. So, I calculated every sum with (in my opinion) logical names. While the books says: d = a + b + c, I made something like: “result = xAxis + yAxis + zAxis”. I did not know at the time that two letters next to each other means that you have to multiply those values. I thought that those two letters were new variable names. This can lead to a lot of confusion and very buggy code!
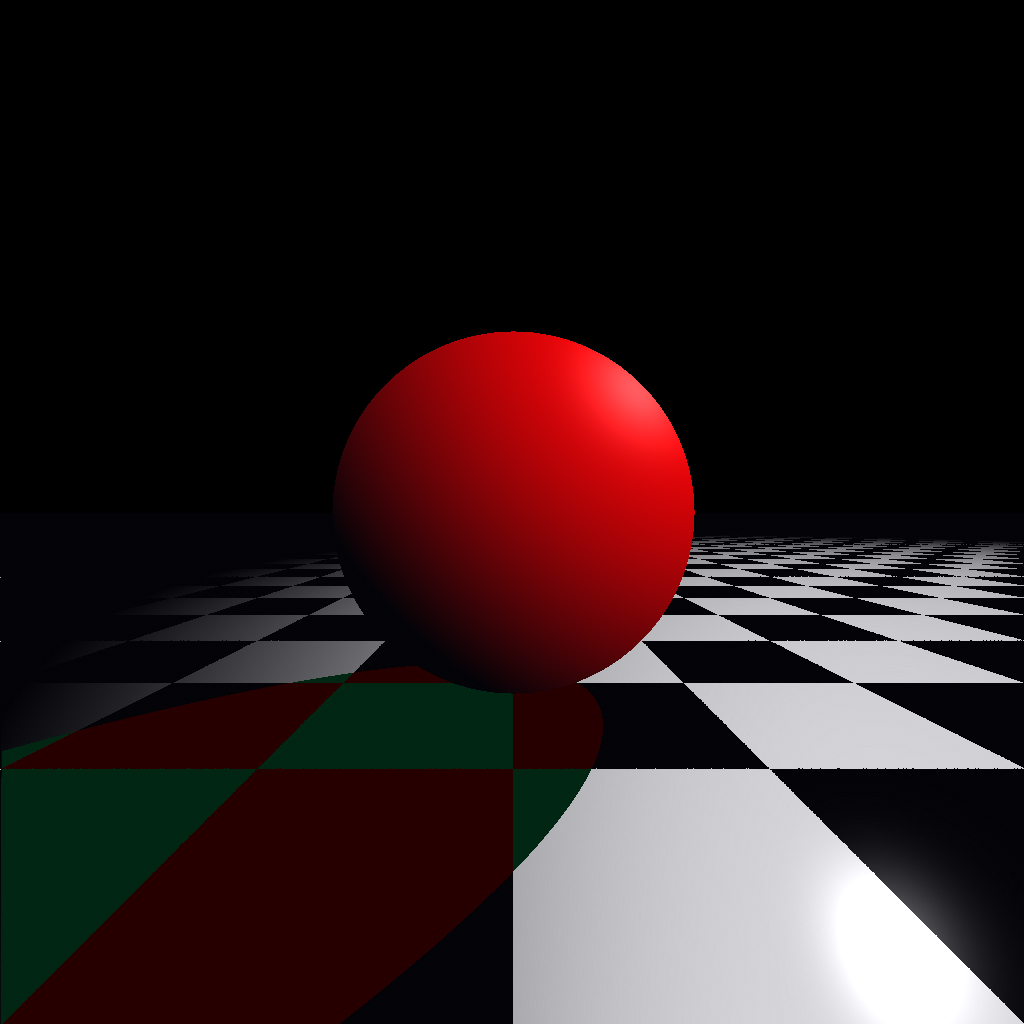
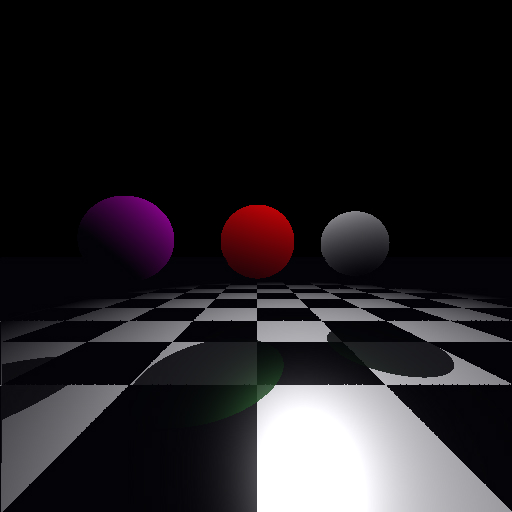
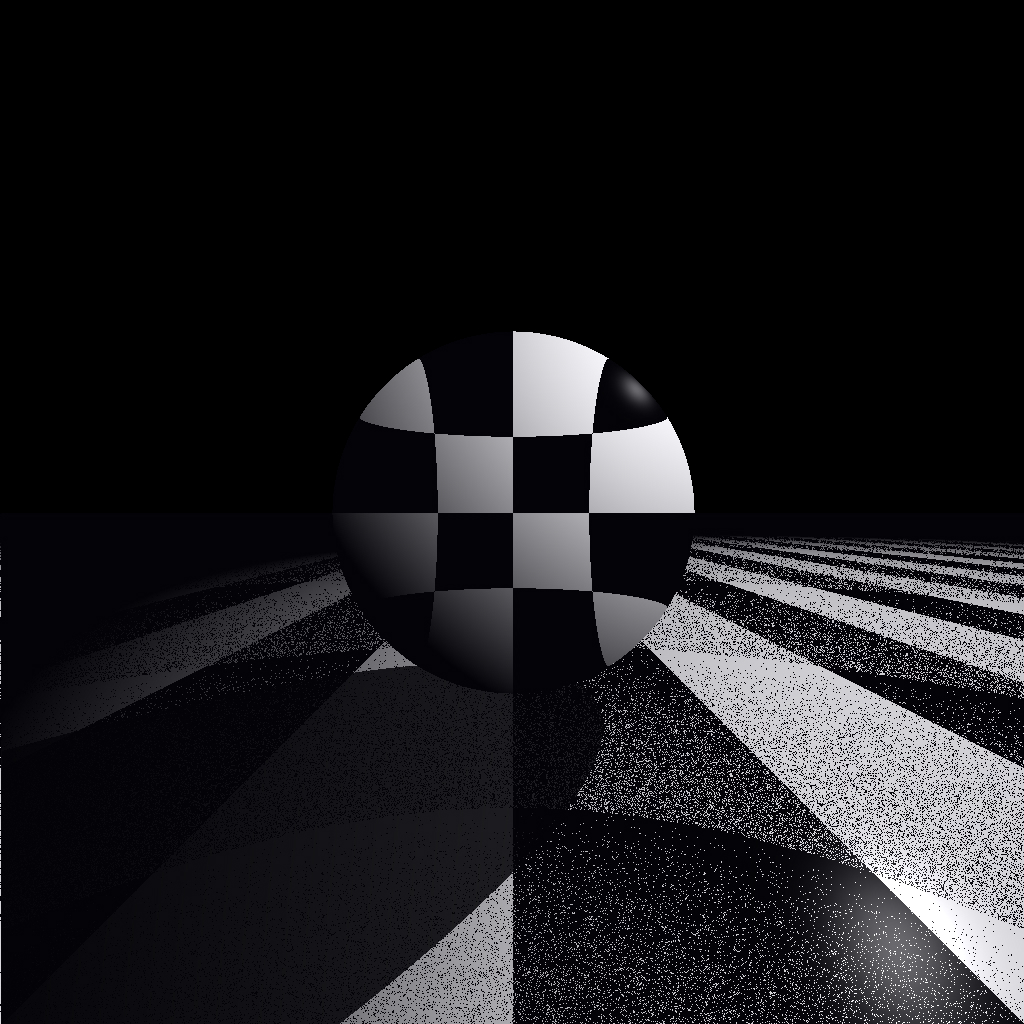
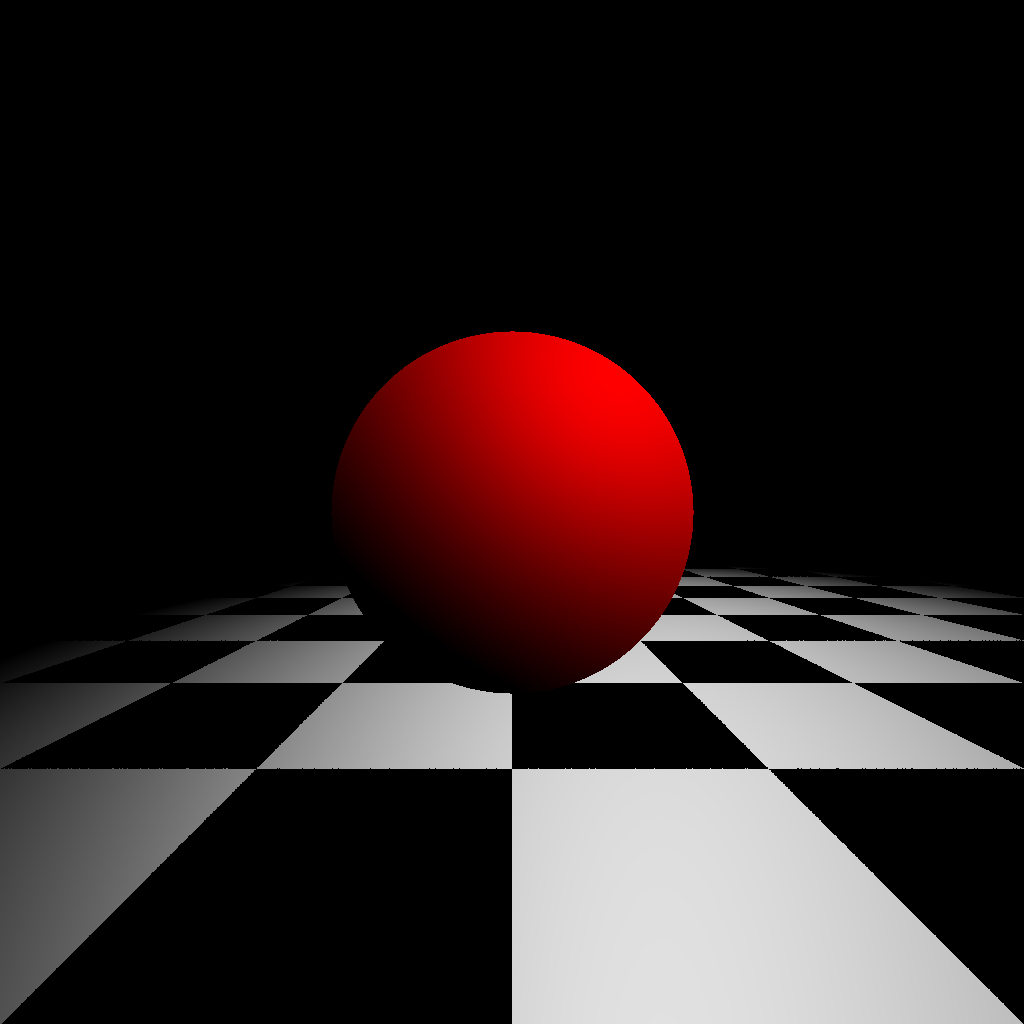
So, the last two weeks I skyrocketed in render results. I added Lambert shading, Blinn-phong shading, Ambient lighting, Specular shading and even shadows. I also added a linked list with quite some help of a friend of mine. This allowed me to add more spheres in the same scene! I really wanted to add reflections, but I was out of time.
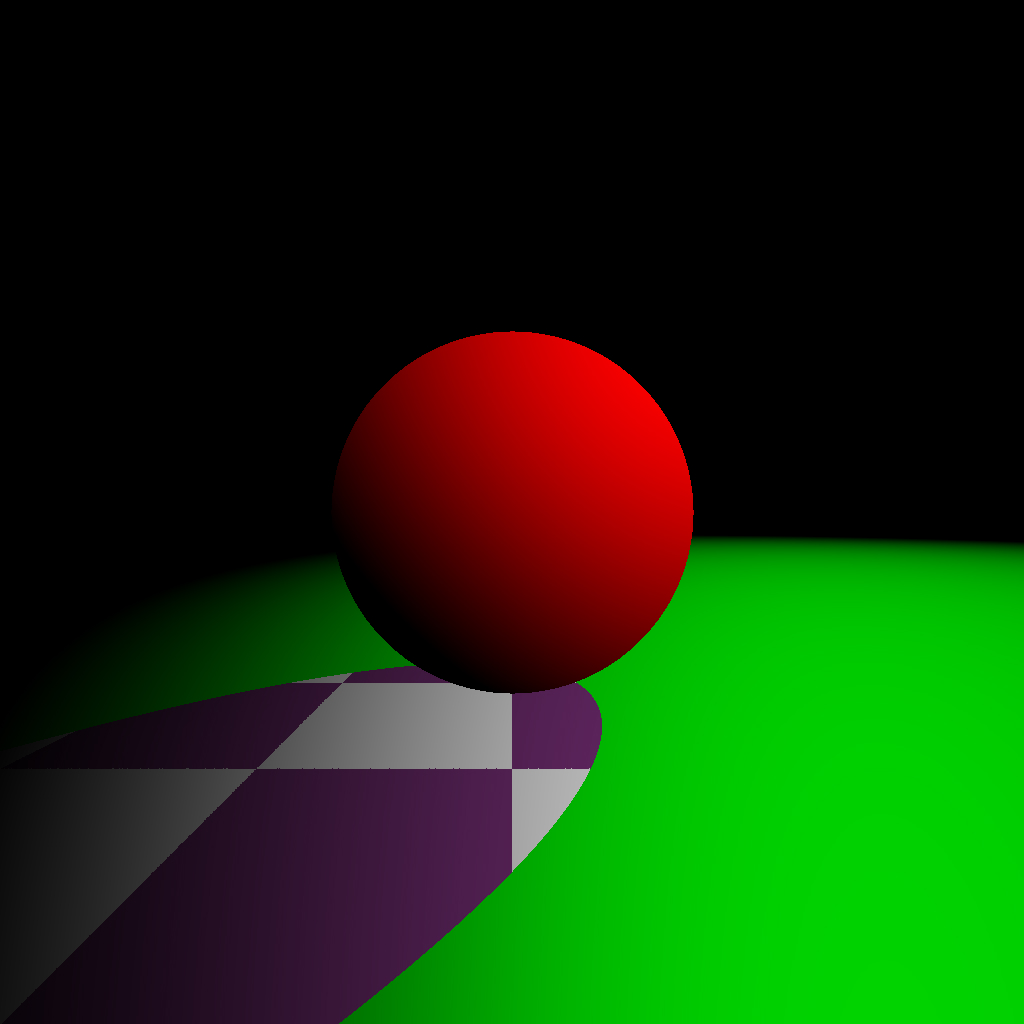
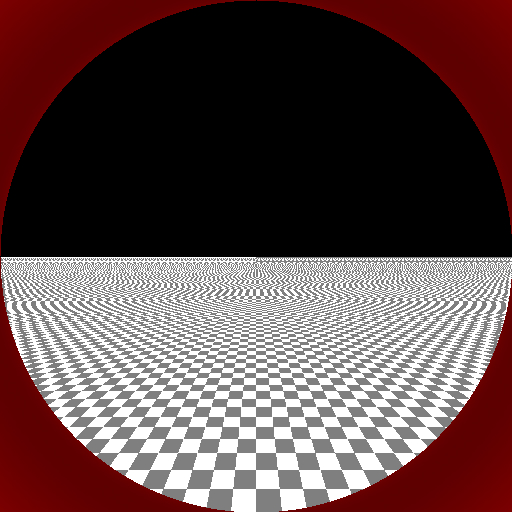
This was such a good learning experience for me! After this block, I attended the “Interactive Ray Tracing course” by Jacco Bikker. It was a seven-day course on my own school, and it cleared a few things up for me. I have rewritten some things and, in the end, I created this image of a mushroom for the fun. Speaking about fun, here are some images I made to test out fun stuff. There are also some buggy ones in it! See the last few pictures as a fun bonus!